# MyCopyHub
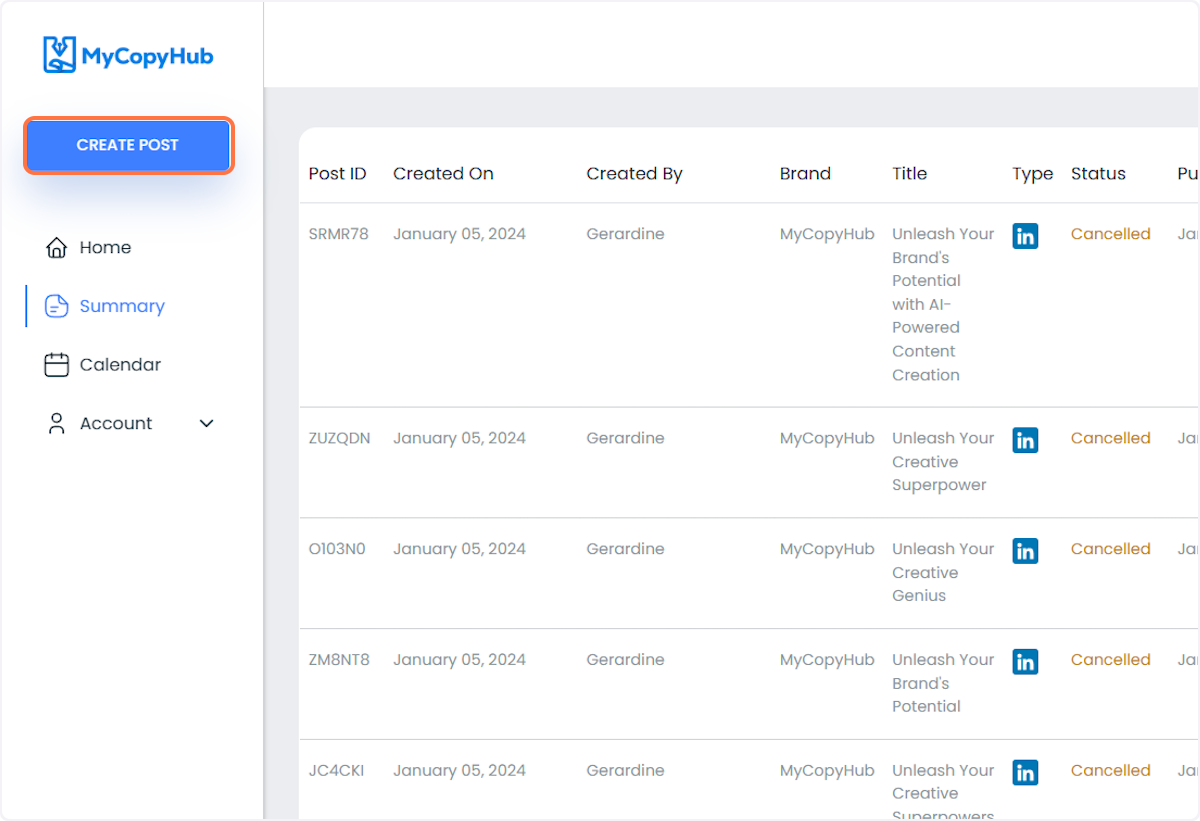
1. Click on CREATE POST
2. Click on MultiPost

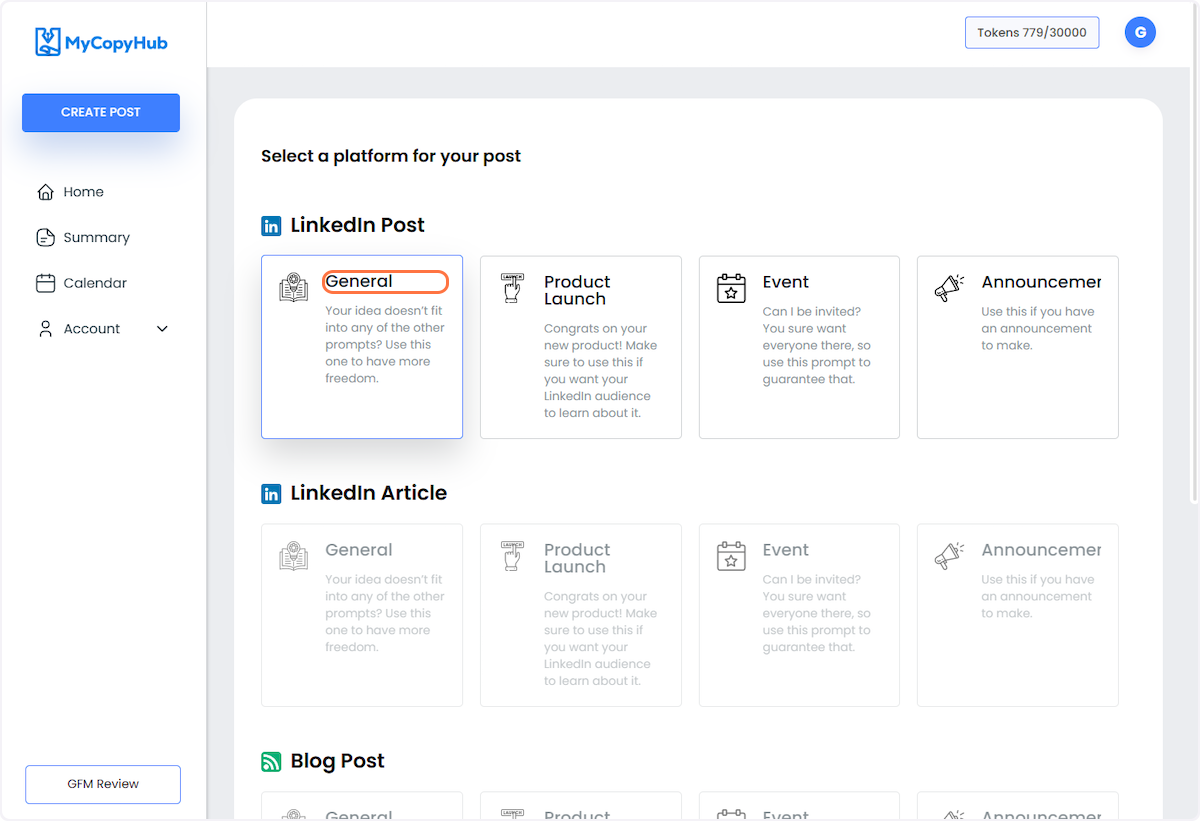
3. Select the type of post you want to create. If you'd like to see a different type, shoot us an email and we'll add it to our list!
This is even more important in for MultiPost than for SinglePost. If you choose "Product Launch" for example, the posts we'll be a build up to the launch day.
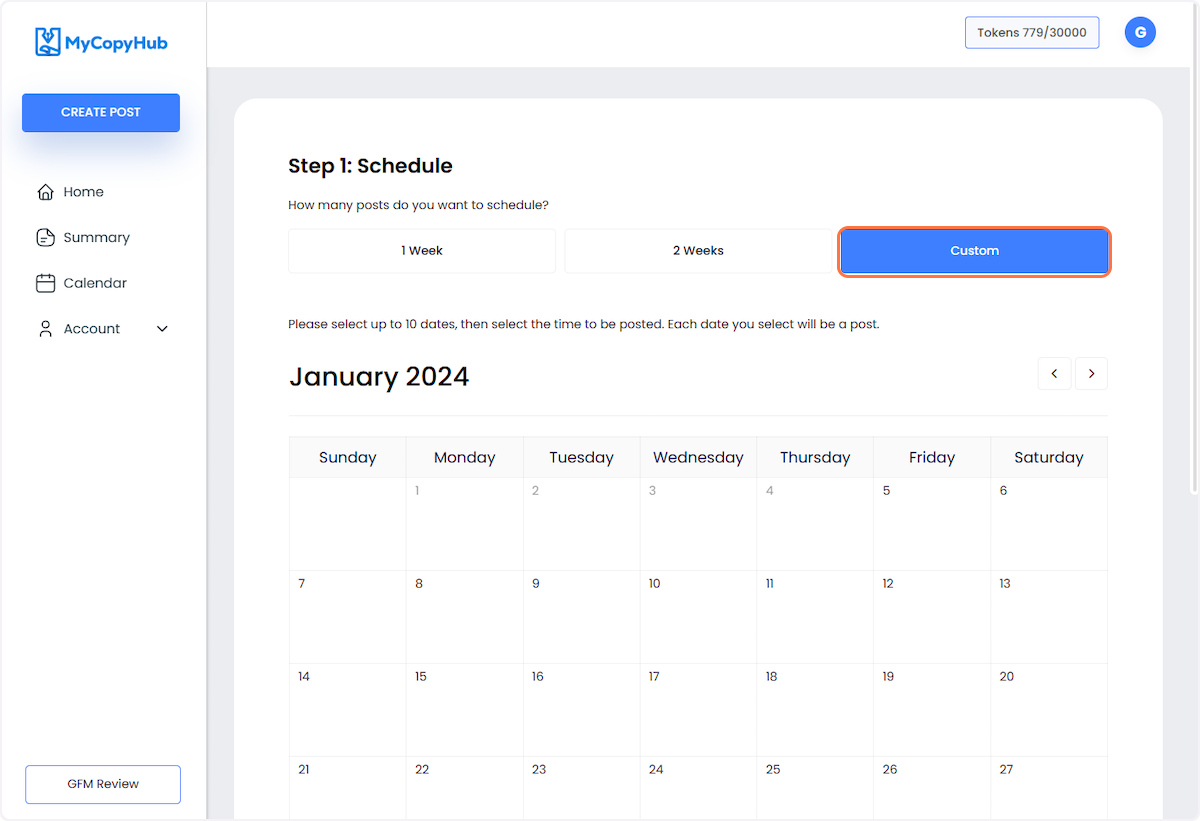
4. Schedule your posts depending on when you want them to be published.
You can choose to create from 2 to 10 days' worth of posts at once. You can do one or two weeks in a row, or scatter them on your own schedule.
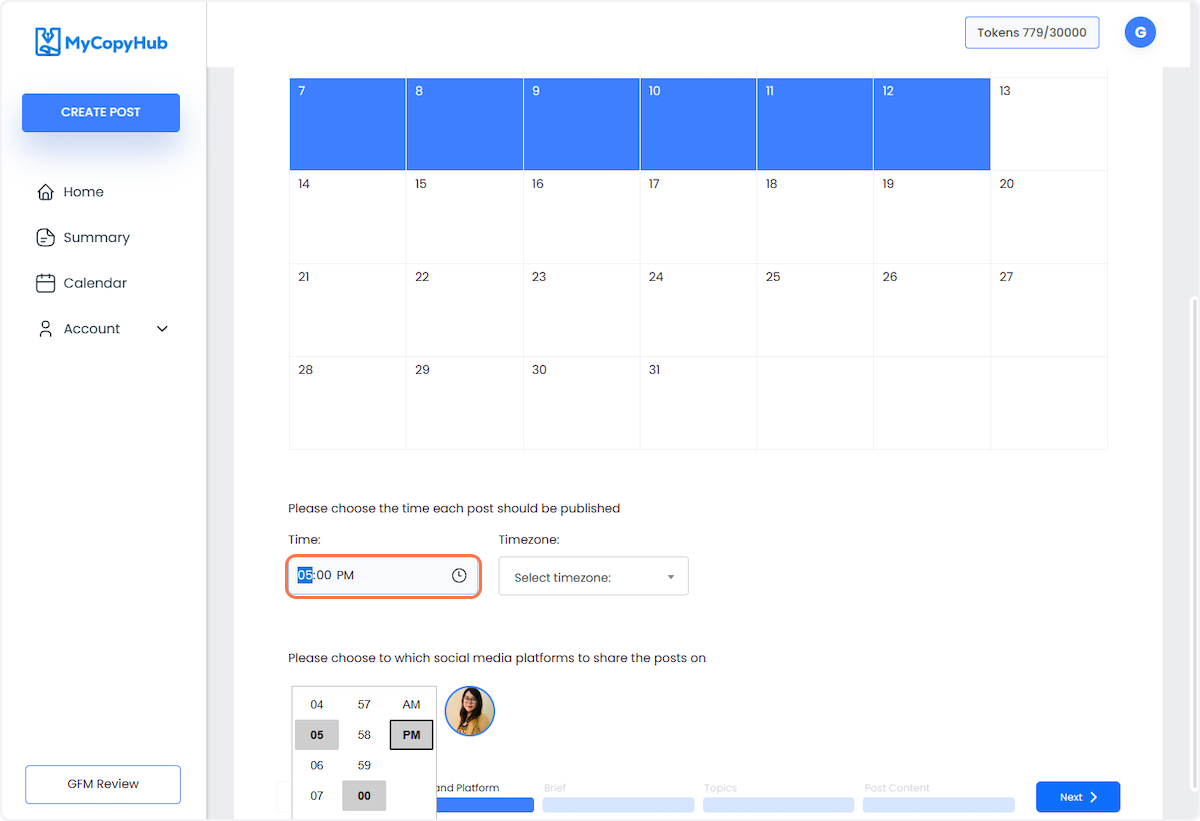
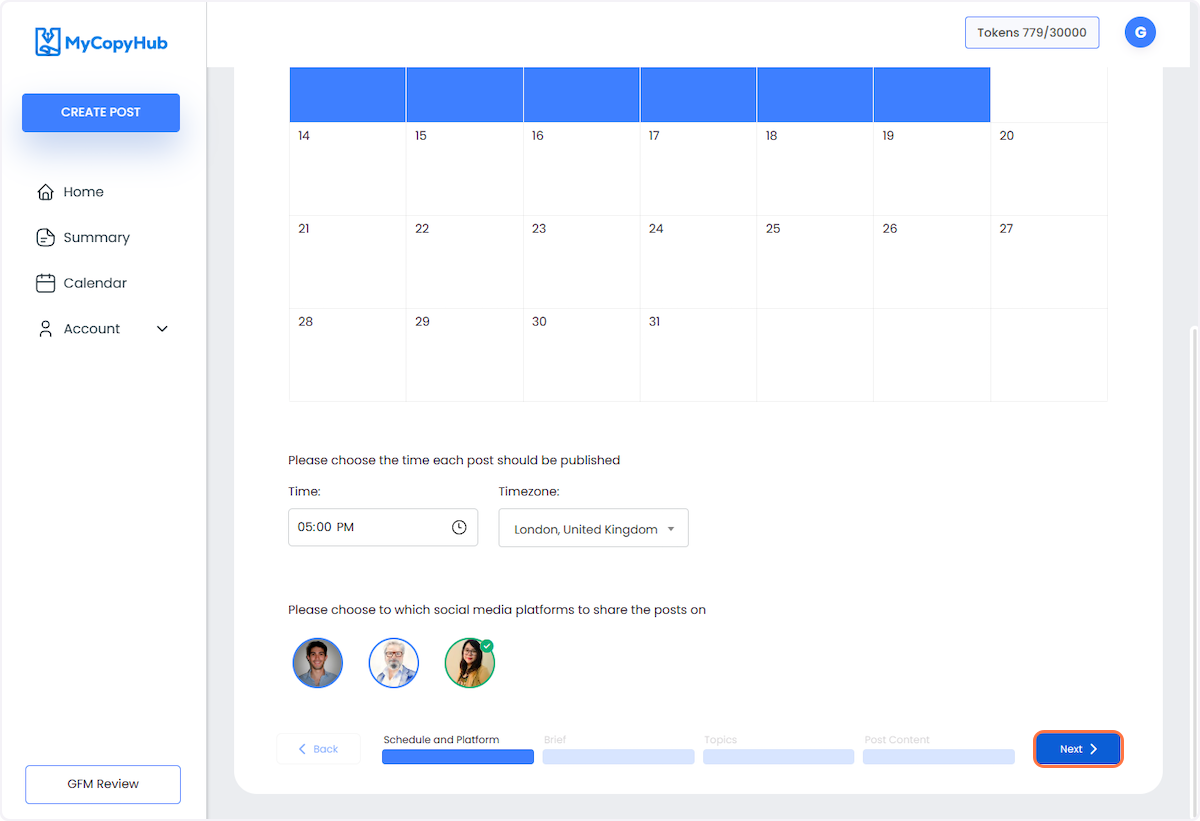
5. Choose the time and timezone on when you want your posts to be published.
6. Click on the social media account where you want your posts to be published.

7. Click on Next
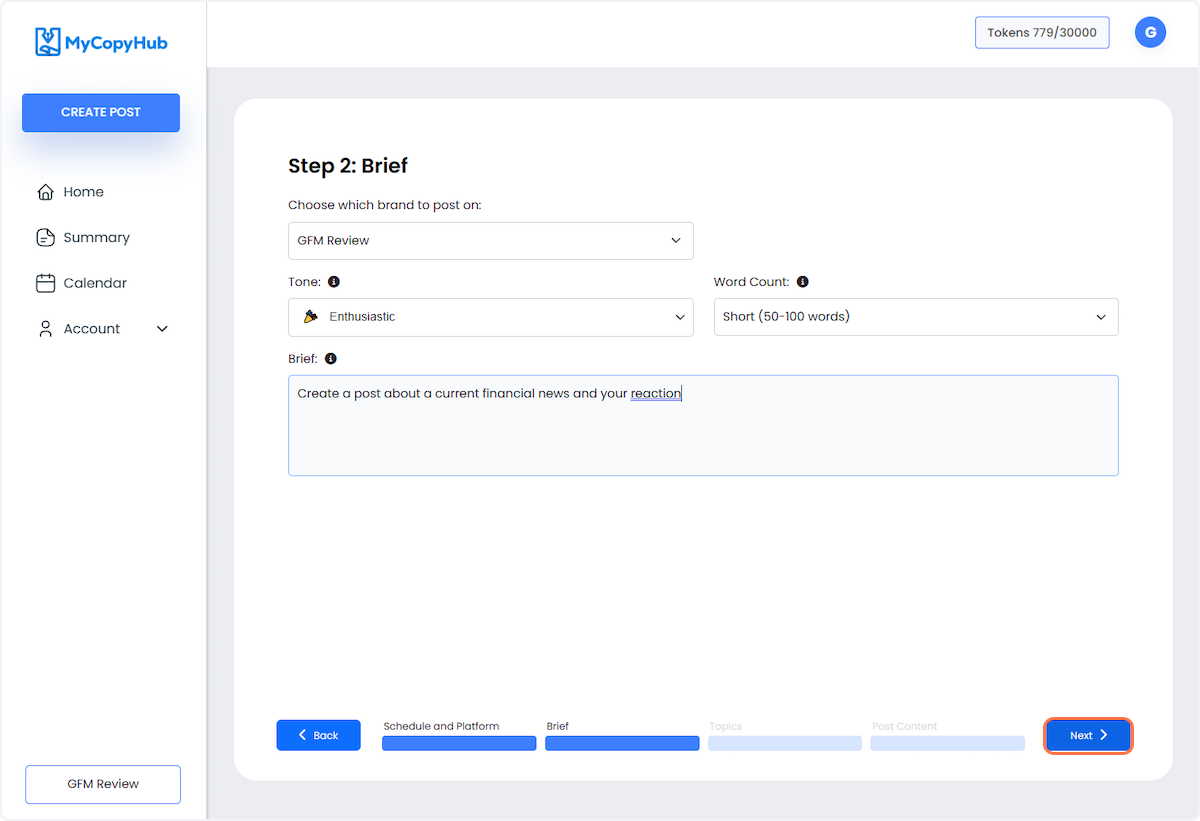
8. Choose from which one of your brands you want to post on
This step defines the brand voice to be used in the post.
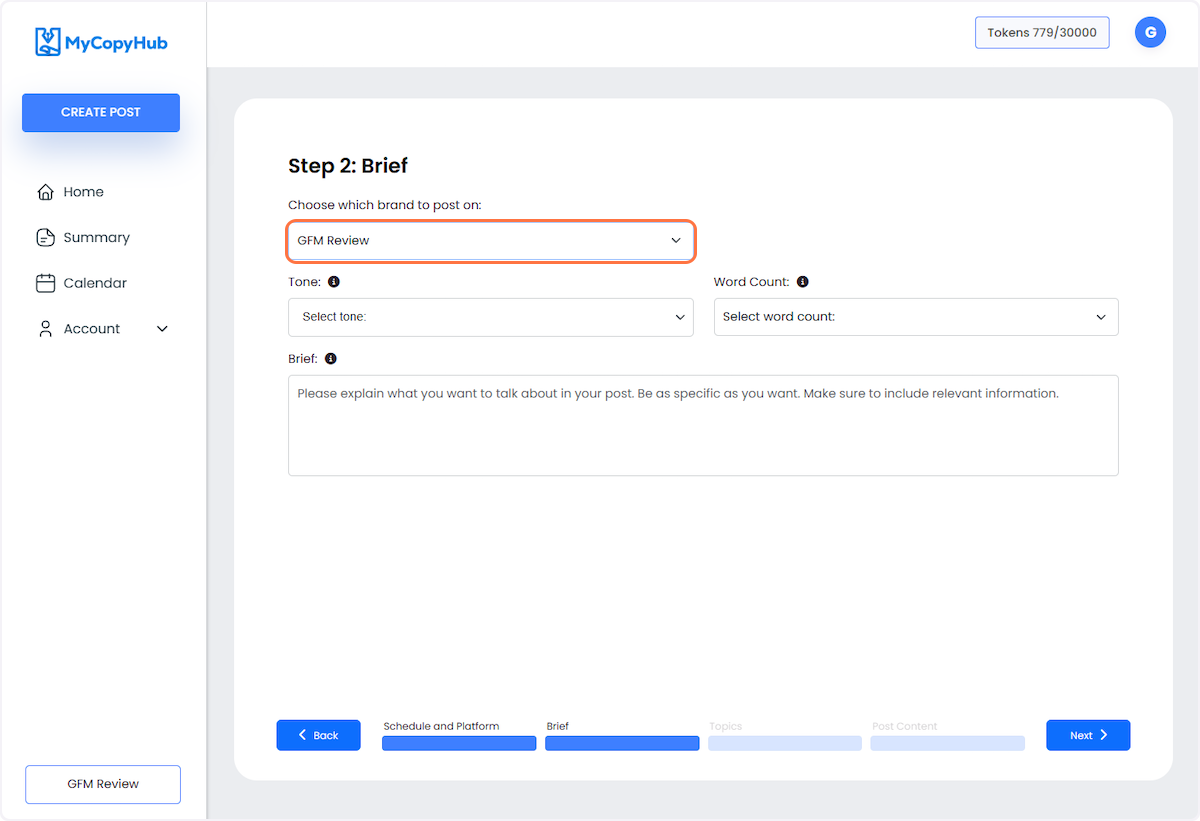
9. Select which Tone you want the post to be on.

10. Select how long you want your post to be from Word Count.
Do you have a lot of information to pass or just want a quick update? Choose here.
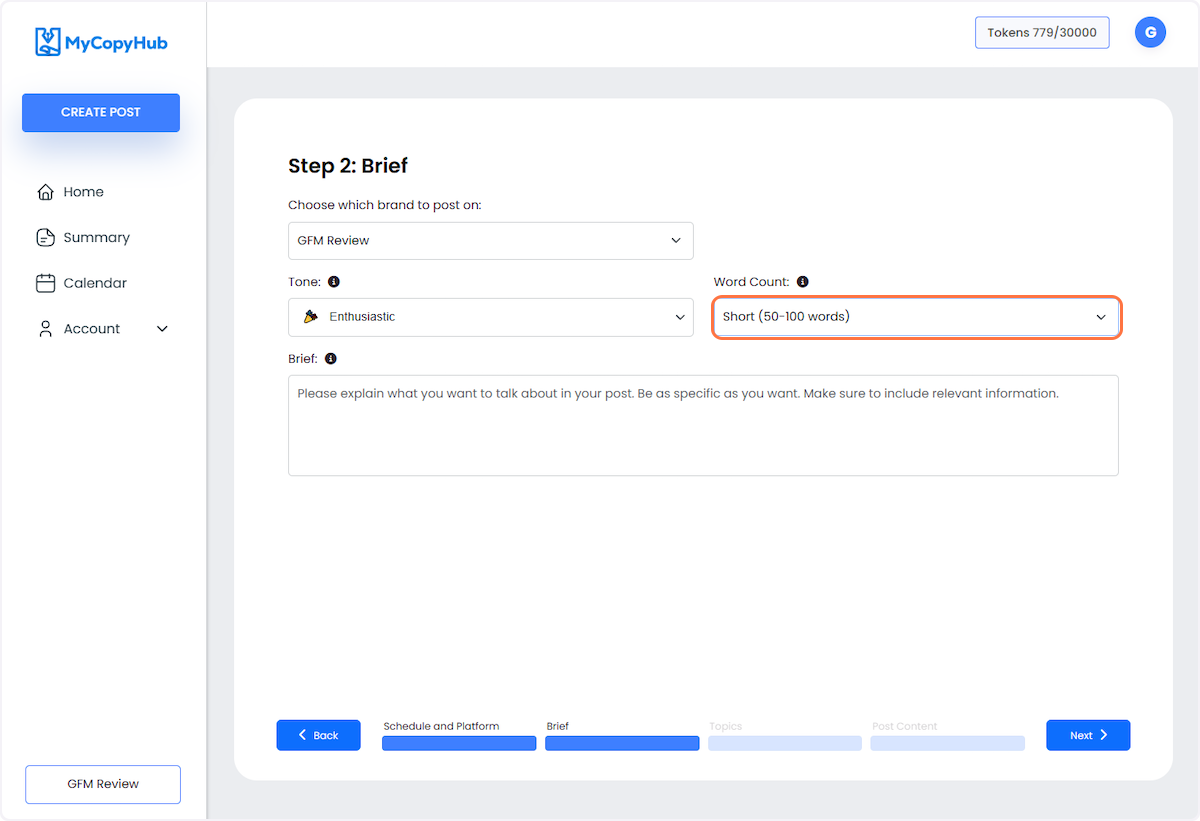
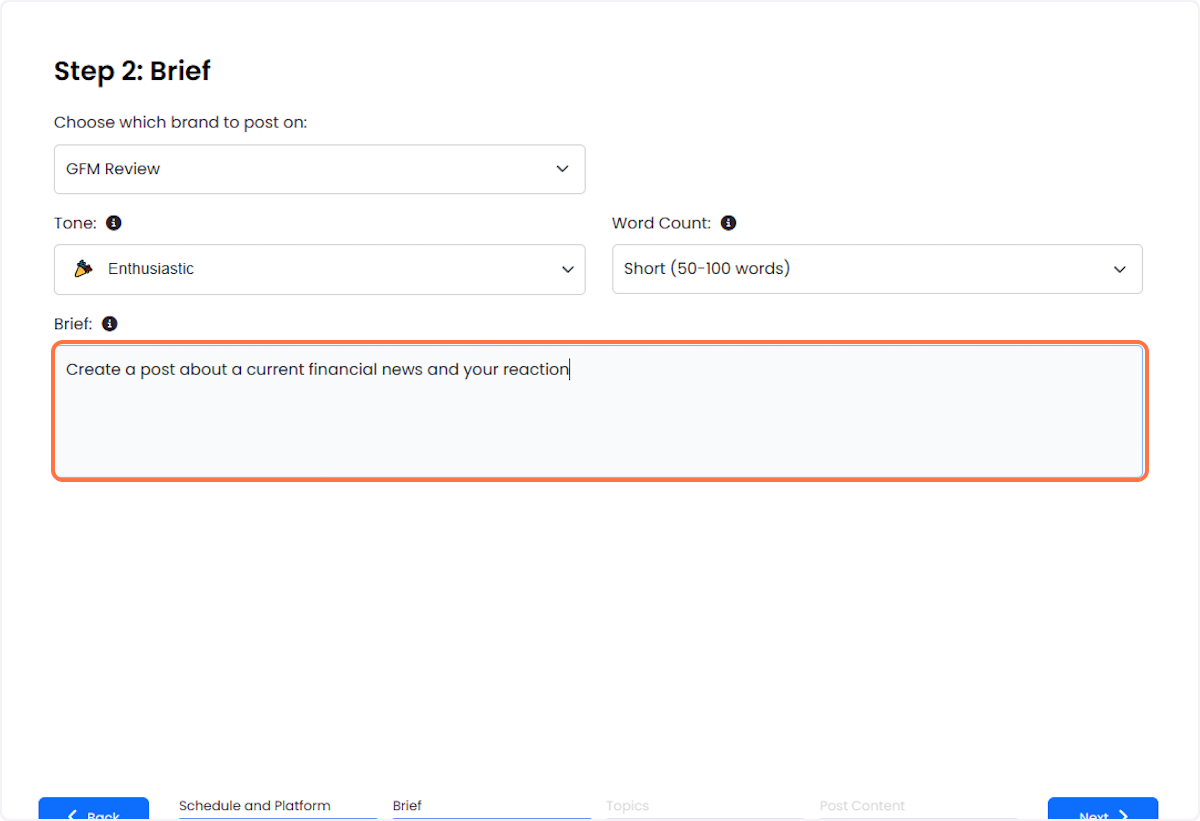
11. Type your instructions. Be as specific and add as much information as possible, as this will be the source of information for your post.
We don't have access to recent events (yet!), so if you want to discuss something recent, you need to give us context.
12. Click on Next when you're all set
13. MyCopyHub will generate topics for all of your posts. You may regenerate or edit any of these.
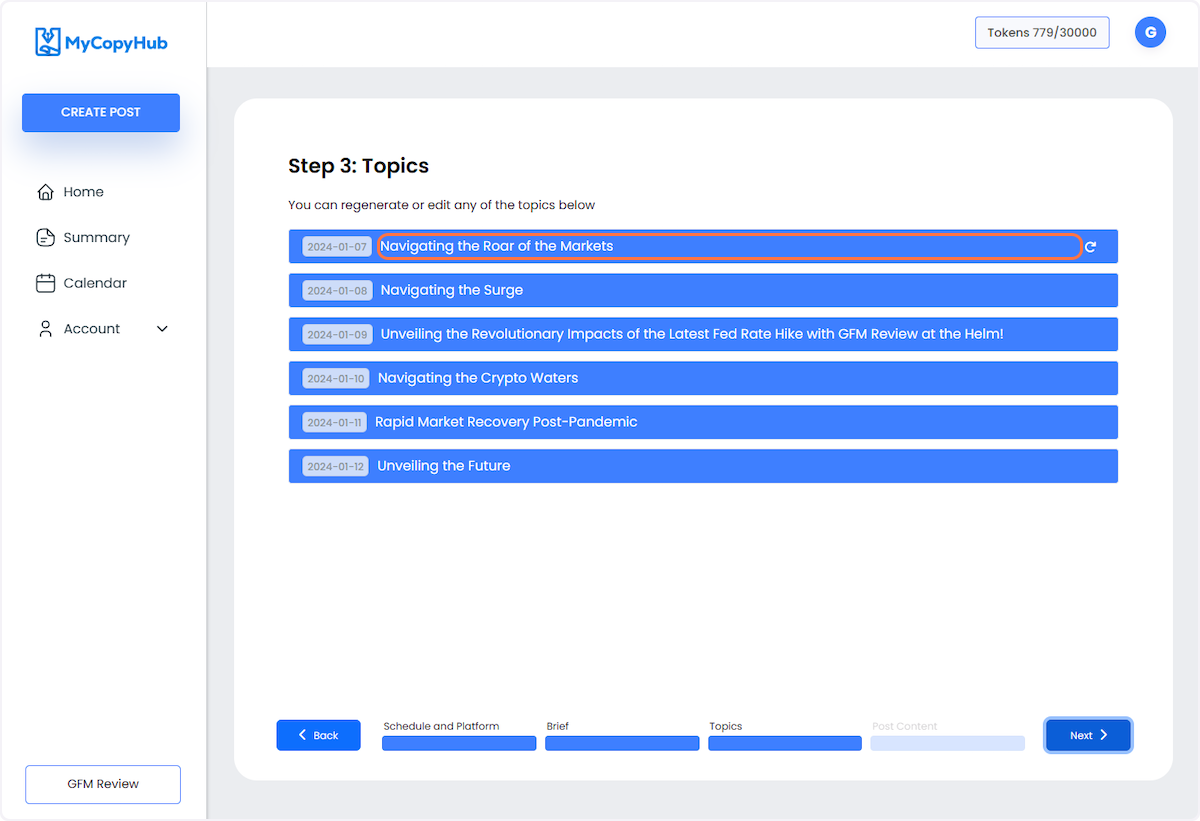
14. Click on Next when you are satisfied with the topics

15. Can you believe all these posts have been generated from your simple instructions?
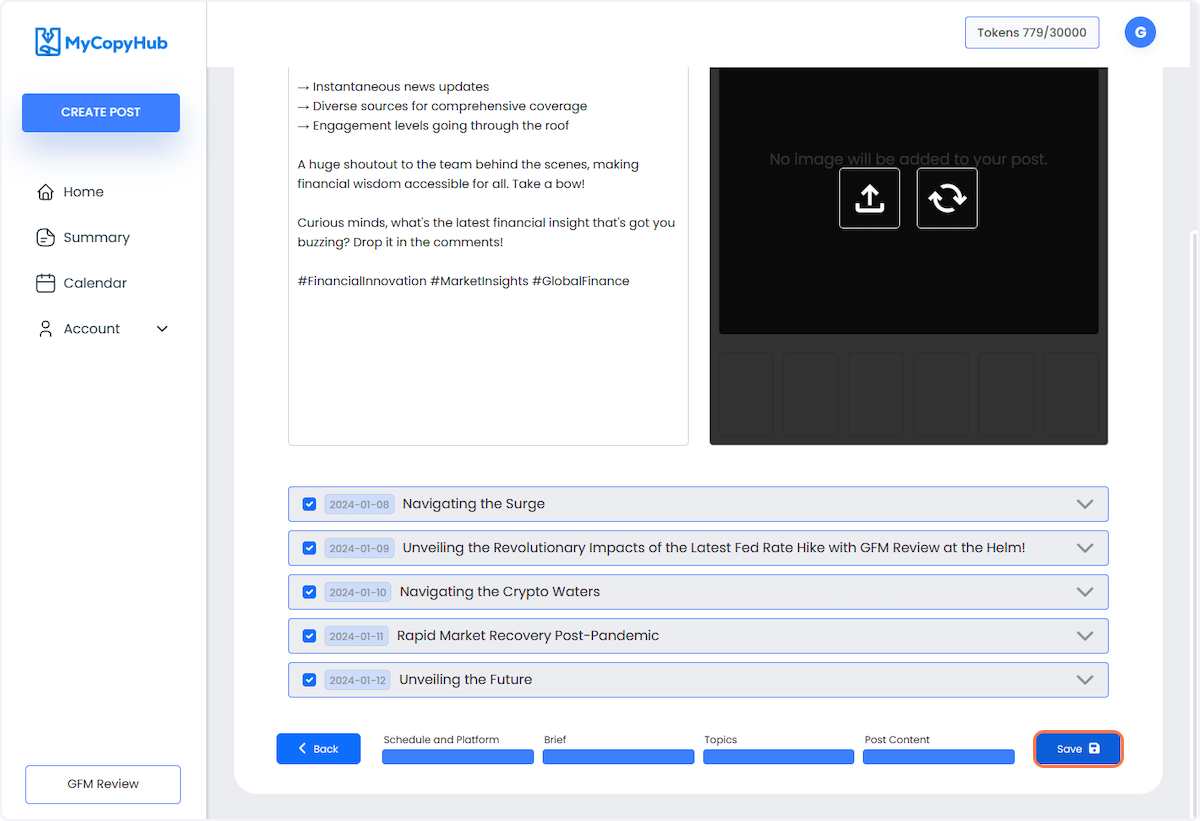
In this step, each hook from the last step gets expanded into a whole post. You can edit or regenerate each post. Please review the text of each one before you approve it to post.
If you don't like one or more of the posts, or don't see the need for this many posts about your topic, you simply uncheck the checkbox on the title of each post and they won't be scheduled.
Also, you can choose what images you're going to use (your own or our freely provided stock images) - or go with no images at all.
Once you're happy to schedule them, click on Save.
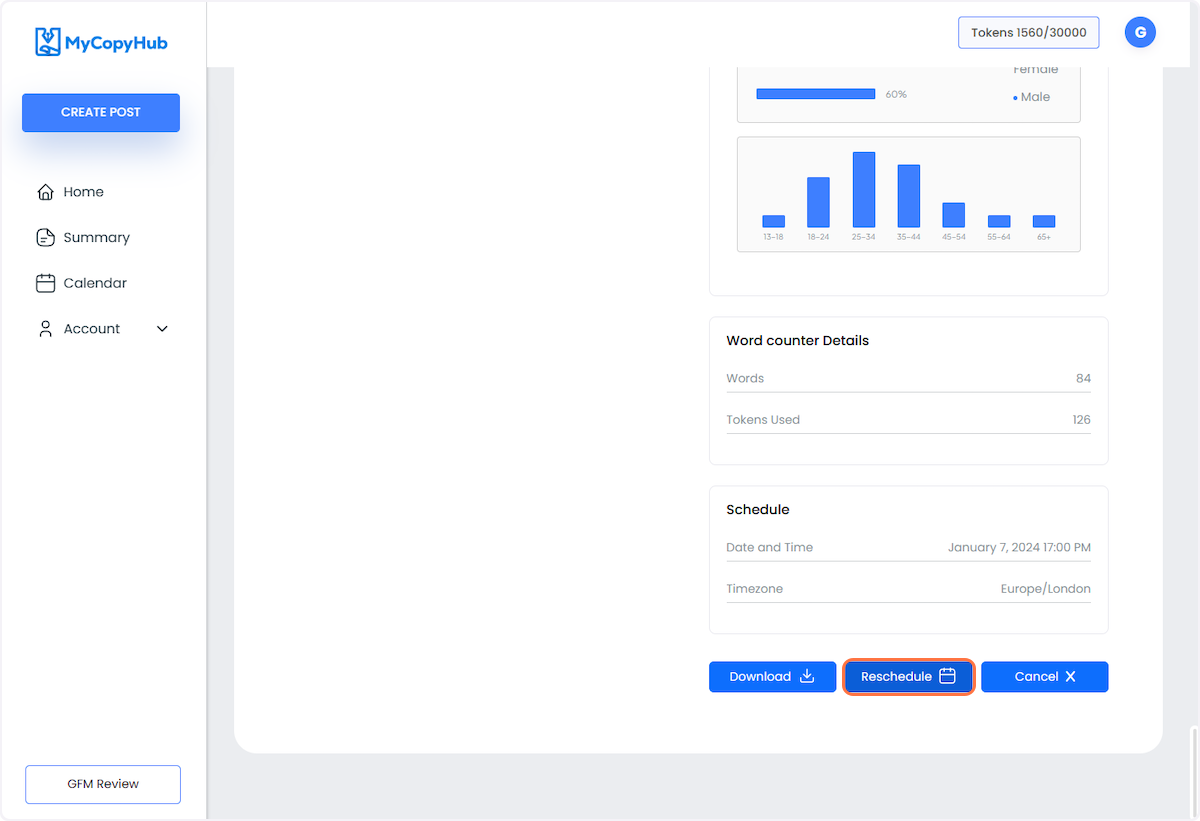
16. You may also reschedule your post should you need to.
Let's say you thought about it again and don't believe this is the right time or day to post this. You can always reschedule or cancel the post.